Showing posts with label Sweet Treats. Show all posts

Thursday, 19 May 2011

White Chocolate and Raspberry Cupcakes

One of the great things about adding fruit to your cupcakes is you can trick yourself into thinking that they must be one of your five a day. Not to mention that the tart taste of the raspberries goes perfectly with the sweetness of the chocolate.

Ingredients:

115g self-raising flour, sifted
115g caster sugar
115g soft unsalted butter
2 eggs
1 tbsp of milk
1 tsp of vanilla essence
1/2 tsp of bicarbonate of soda
200g mascarpone
75g white chocolate
1 punnet of fresh raspberries
1 tbsp of icing sugar

Preheat the oven to 190/gas mark 5


Let's Get Making:

1. Beat the sugar and the butter until light and fluffy.
2. Add the vanilla essence and one tbsp of the flour (this stops the mix splitting), then add the eggs one at a time, beating after each one, followed by the milk.
3. Mix the bicarbonate of sad in with the remaining flour, then gradually add the four to the cake mix.
4. Pick twelve of the prettiest raspberries from the punnet and put to one side. Lightly crush those that remain and carefully add to the mix.
5. You are now ready to fill your cupcake cases, only two third full, mind.
6. Place in the oven and cook for 15-20 minutes, until lightly brown.

Whilst the cakes are cooking, melt 75g of white chocolate. Wait until it is lukewarm and then beat with 200g of mascarpone until it is smooth and glossy. Top each cake with a teaspoon of the mascarpone mix, and put a raspberry on top. Dust each cake with a little bit of icing sugar and finally, enjoy!


Tuesday, 10 May 2011

Yellow Heaven

I recently bought, Meet Me at the Cupcake Cafe by Jenny Colgan. Although I did promise not to buy any new books until I have read some of the hundreds that are piled up or on shelves all over my house. However, I just couldn't resist this one. Firstly, anything with reference to cupcakes, must be good. Secondly, nearly every chapter begins with a recipe, that must make it a recipe book. Giving me the loop hole to my promise (I said no more fiction books.)

As well as having lots of delicious delights inside the book, it also came with a few recipe cards, one of which I tried out last night.

Lemon (Getting What You Want) Cake

Ingredients for the cake:

115g self-raising flour, sifted
1 tsp baking powder
115g softened butter
115g caster sugar
2 large eggs
Grated zest of 1 lemon
Juice of 1 lemon
(Although not in the recipe, poppy seeds would be great in this cake, so go on add a few...maybe more than a few, try 2 tablespoons.)

Ingredients for the icing:

60g icing sugar
2 tsps water
1 tsp lemon juice

Let's get making:

Preheat the oven to 150c/gas mark 3 and grease a loaf tin.
1. Sift the flour and baking powder into a bowl.
2. Then add all the other ingredients and beat well.
3. Spoon the mixture into loaf tin and bake for twenty minutes. (Although when I made this, I needed to keep it in the oven for 40!) The cake should be yellow, not brown, but not gooey inside.

It really is that simple!

Whilst the cake is cooking (whether it is for 20 or 40 minutes, check it at 20 minutes, see how it's getting along and take it from there), make the icing by mixing the 60g of icing sugar, a teaspoon of lemon juice and tiny amounts of water until it is sweet and stiff.

Apply the icing while the cake is still warm, spreading thinly until it cracks.

Although this cake may not be the prettiest of cakes, it certainly is up there with the yummiest. Jenny goes as far to say that those who taste it will do anything you want but I'm not sure I could keep it long enough to use as a bribe. Next time I shall make two, one for me and one for getting what I want.

Saturday, 23 April 2011

Mini Egg Treasure Hunt

Forget running around the garden hiding eggs, just pop them in your cupcakes. These Easter cakes the yummy answer to the Easter egg treasure hunt.

Ingredients:
Serves 24
125g unsalted butter, softened
125g caster sugar
125g self-raising flour
Pinch of salt
2 medium eggs
2 tablespoons milk
1 teaspoon vanilla extract
1 packet Cadbury's Mini Eggs

For the Frosting:
50g unsalted butter, softened
100g chocolate, melted
300g icing sugar
3 tbsp Milk
1 tsp vanilla extract

Let's get making:

  1. Preheat oven to 190°C or Gas Mark 5.
  2. Beat the butter in a large bowl until it is softened. Add the sugar, flour, salt, eggs, milk and vanilla and whisk until the mixture is smooth.
  3. Spoon the mixture into the cases, and then press one Mini Egg into the centre.
  4. Place muffin tin in the oven and bake for 12-15 minutes, until cupcakes are a light golden colour.
  5. Remove the tins from the oven. Leave the cupcakes to cool in the tins for a few minutes, then transfer them to a wire rack to cool.
To make the frosting:

1. In a large bowl beat the butter until it is fluffy. Beat in the melted chocolate. Gradually add half of the icing sugar, stirring first (to prevent it going all over the counter, and you) and then beat until well combined.
2. Slowly beat in the milk and the vanilla. Then add the remaining icing sugar. Beat in more milk, if needed.

Pipe the icing onto the cakes, when cooled and then top with a Mini Egg.


And there you have an Easter egg treasure hunt on a plate!


Wednesday, 20 April 2011

Sunshine in a Scone

Scones are the perfect tea time treat; especially when taken just out of the oven, and enjoyed in the evening sunshine. And for an extra summertime treat, these scones have a hint of lemon (as we all know that everything lemony tastes better when the sun is shining).

Ingredients:

225g self raising flour
pinch of salt
55g butter
25g caster sugar
140ml milk
Peel and juice of one lemon
1 egg beaten

Let's get making:  

1. Heat the oven to 220C/gas mark 7.
2. Lightly grease a baking sheet.
3. Mix together the flour and salt and rub in the butter.
4. Stir in the sugar, lemon peel and juice, and then the milk to get a soft dough.
5. Turn on to a floured work surface and knead very lightly. Pat out to a round 2cm/¾in thick. Use a 5cm/2in cutter to stamp out rounds and place on a baking sheet. Lightly knead together the rest of the dough and stamp out more scones to use it all up.
6. Brush the tops of the scones with the beaten egg. Bake for 12-15 minutes until well risen and golden.

Put the kettle on, brew a pot and enjoy your scones with clotted cream and blueberry jam. (Or lemon curd, for the real lemon lovers).

Monday, 18 April 2011

Blue Denim Cupcakes

I love Red Velvet cupcakes. They taste divine and look amazing; red cakes-genius!
Blue Denim cupcakes are my own little creations, my ode to the Red Velvet if you like. They are essential a
white chocolate cupcake that have had a stone wash and topped with cream cheese frosting.


Ingredients:

250g unsalted butter, softened
250g caster sugar
250g self raising flour
Pinch of salt
4 medium eggs
4tbsp milk
1 tsp vanilla extract
200g white chocolate, melted
1 tbsp blue food colouring

Let's get making:

  1. Preheat oven to 190°C or Gas Mark 5.
  2. Beat the butter in a large bowl until it is softened. Add the sugar, flour, salt, eggs, milk and vanilla and whisk until the mixture is smooth.
  3. Fold in the melted chocolate and food colouring
  4. Spoon the mixture into the cases.
  5. Place muffin tin in the oven and bake for 20 minutes, or until lightly golden on top.
  6. Remove the tins from the oven. Leave the cupcakes to cool in the tins for a few minutes, then transfer them to a wire rack to cool.


Whilst your blue cupcakes are cooling, you can make the cream cheese frosting. For this you will need:
125g cream cheese
250g icing sugar
90g unsalted butter, softened
1/2 tsp vanilla essence
1/2 lemon, juice only

Put all the ingredients in a bowl and mix until combined. Store in the fridge until the cupcakes are ready to be frosted.

 And there you have it, the Blue Denim Cupcake...


Each Poach Pear Plum

Poached pears are a yummy summer dessert and they must be good for you, it's only fruit! (Cooked in a rather sugary liquid but I won't tell if you don't.)
Each time I make this, I use a different fruit juice (mostly because I can't remember which one I used the last time), but the berry ones are the best. Those rich in colour are great as they dye the pears as they cook, making them a treat for the eye as well as the belly.


Serves 4
Ingredients:

4 pears, peeled
4 plums
600ml fruit juice
400ml water
1tsp vanilla essence
1 cinnamon stick

1. Boil the fruit juice and water in a pan, add the vanilla essence and cinnamon stick.
2. Turn down to simmer and then add the pears and plums. Cover and simmer for 20 minutes.
3. Remove from the heat and allow to cool in the liquid.
4. Serve with natural yogurt, ice-cream or double cream. For an extra treat, top with dark chocolate sauce.


With the remaining juice in the pan, add some sugar, a splash of white wine and simmer down to make a lovely sauce to accompany your fruity feast.


The LBD of Cooking

There are some things you can pull off that will never fail to impress, just like your favourite LBD, and this sauce has to be one of them. Perfect with ice cream, poached pears, chocolate cake (just in case it isn't chocolatey enough already for you) or even just for dipping marshmallows in.

Ingredients:

250 ml water
100 g sugar
160 g light corn syrup
75 g unsweetened cocoa powder
55 g dark chocolate, finely chopped

Let's get making:

1. In a medium saucepan, whisk together the water, sugar, corn syrup, and cocoa powder.

2. Bring to a boil over medium heat. Once it’s just begun to simmer and boil, remove from heat and stir in the chopped chocolate until melted.

Although it might be tempting to delve straight in, it is best to allow the sauce to stand for a while and thicken.

Nuts About Nutella

Apparently, spooning Nutella straight out of the jar isn't the only way of eating it. (Although it works for me.)
In Nick Sandler & Jonny Actons book, the Branded Cookbook they explore different recipes using everyday, branded ingredients-Nutella being one of the.

Nutella Truffles is my favourite nutty, chocolatey recipe from the book. (If it is possible to have a favourite-they all use Nutella, after all!) I love this recipe because it is simple, a little bit messy and in hardly any time at all, you have your very own treats similar to those fit for an ambassador.

Ingredients:

4 ice-cream wafers
2 tbsp almonds
3tbsp whole blanched hazelnuts
2 tbsp Nutella

Lets get making:

1. Preheat the oven to 180C/gas mark 4
2. Crumble the ice-cream wafers with your fingers until they are the size of large breadcrumbs.
3. Bake the almonds and hazelnuts in the oven for about 8 minutes and then let them cool. Remove 12 of the whole hazelnuts for later on. Process the remaining nuts in a food processor until finely ground.
4. In a bowl, mix the ground almonds and hazelnuts and half the crumbled ice-cream wafers with the Nutella. (Put the remaining crumbled wafers in a small bowl.)
5. Using a teaspoon, pick up a blob of the truffle chocolate and press in a whole hazelnut until it has disappeared into the chocolatey abyss. Then place in the bowl of wafer crumbs and roll around until it is coated with an even layer. Repeat again and again until you are left with around 12 truffles.
6. Store the truffles in the fridge. They should keep for a few weeks in an airtight container. Not that I have tested this, mine didn't last that long.


Sunday, 17 April 2011

Faking It

I am yet to use silicone moulds in my baking, but my mum swears by them. And mums know best. So I have decided to have a look at what the silicone world has to offer. There is some fab stuff out there.

Take these TeaCupCakes from StrawberryFool.

The set contains 4 reusable baking cups and saucers so you can impress your friends, with the presentation of their cupcake, when having tea parties...if you have tea parties. If not, then here is a perfect excuse to start having them.


A perfect recipe to bake in these would be Earl Grey Tea Cakes.

This recipe is taken from Nigella.com


Ingredients:

Butter for greasing
2 Earl Grey tea bags
60ml (1/4 cup) boiling water
80ml (1/3 cup) milk
100g unsalted butter, at room temperature
2 eggs
160g (2/3 cup) caster sugar
190g (1 1/4 cups) self-raising flour
230g (1 1/2 cups) pure icing sugar
1.5 tbsp breakfast marmalade
1.5 tbsp fresh orange juice (approx)

Let's get making:
1. Preheat oven to 180C
2. Brush 12 medium muffin pans with melted butter to lightly grease.
3. Empty the tea leaves from the tea bags into a cup and add the boiling water.
4. Set aside for 3 minutes
5. Stir in the milk and then transfer to a large bowl. Add the butter, eggs, sugar and flour to the tea mixture
6. Use electric beaters on low speed to beat until just combined. Increase speed to medium and beat until the mixture is pale and creamy (the mixture may look slightly curdled)
7. Spoon the mixture evenly into the greased pans. (Or TeaCupCakes, if you have them.)
8. Bake in a preheated oven for 20-22 minutes or until golden and a skewer inserted in the cakes comes out clean.
9. Remove from the oven and set aside for 2-3 minutes before turning onto a wire rack to cool.

To make the marmalade icing...

1. Combine the icing sugar and marmalade in a small bowl.
2.  Add enough juice to make a very thick past
3.  Use a teaspoon dipped in hot water to spread the icing over the tops of the cooled cakes
4. Set aside for 15-20 minutes to allow the icing to set

And now you can enjoy with a cup of tea.


Cupcake Heaven

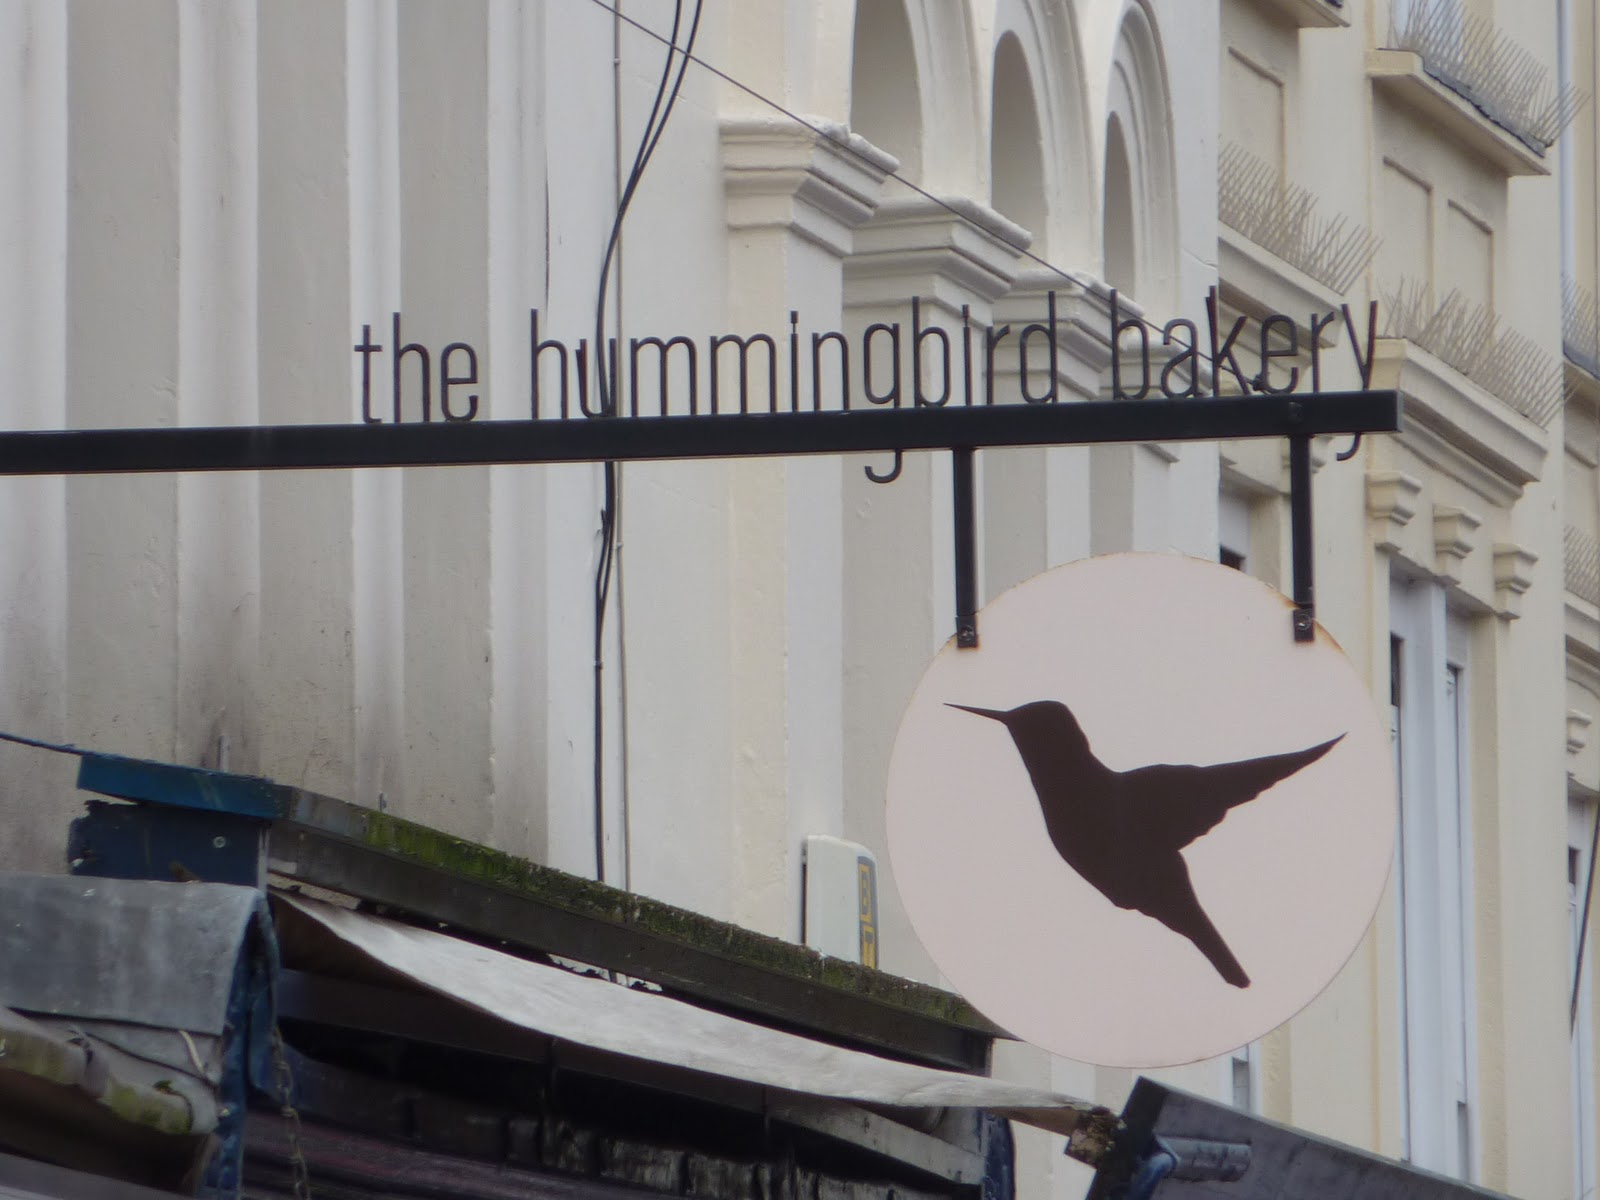
If you love cupcakes, you will love the Hummingbird Bakery. And I love cupcakes so this weekend I made the journey to Notting Hill to get me a little sweet treat.
The Hummingbird Bakery has been in Portobello road since 2004 and is the perfect place to buy freshly made, beautifully decorated cakes. Of course there is a wonderful selection of cupcakes but as well as these little yummy treats, the bakery also makes and sells a variety of layer cakes and American pies.
With the cakes made in store, the aroma as you walk in is just divine and the staff were friendly and patient even though they were very busy. (As expected; they do have shelves full of tasty treasure after all.)


As well as this bakery in Notting Hill, there are also branches in South Kensington, with a red velvet seating area and another in Soho which displays cupcake pop art. Both sound like a great place to visit and I now have perfect excuse to buy a few more scrumptious cakes.

With my Red Velvet bought, I escaped the hustle and bustle of Portobello Market and made my way to Green Park to enjoy the rewards of my journey. (I took great care on the tube and held my little box very close to my chest, looking slightly strange perhaps but I wasn't taking any chances.)


I took my first bite and was pleased to know that the Red Velvets I made at home a few months ago tasted just as they should. Absolutely heavenly. And until I am able to get back to one of these little sugary sanctuaries, I can rest assured knowing that with my Hummingbird Bakery Cookbook I can have a little bit of Hummingbird heaven whenever my heart (and belly) desires.

Banoffee Pie

With a little convincing, I can fool myself into thinking that because this recipe involves using a banana or two, it must be healthy. Ignorance is bliss and so is this banoffee pie.

Ingredients


300g oaty biscuits (Hob Nobs are good and the chocolate covered ones are even better)
60g butter, melted
397g tin Nestlé Carnation Caramel
3 large bananas, sliced
350ml double cream
1 tbsp icing sugar
100g dark chocolate

Let's get making:

1. Preheat the oven to gas mark 4/180C
2. In a food processors, crush the biscuits and then add the melted butter and mixed until combined.
3. Press the mixture into a 24-cm tart tin, with a removable base, making an even layer of buttery biscuit goodness.
4. Bake for 10-12 minutes, until lightly toasted and leave to cool.
5. Transfer the biscuity base onto a serving plate and spread on the caramel. Leave to chill for 1 hour.
6. Just before you are ready to serve, whip the cream and sugar together to form soft peaks. Then arrange the banana slices on top of the toffee and cover with the whipped cream.
7. Melt the chocolate and when it has cooled slightly, drizzle over the cream.

Saturday, 16 April 2011

Itsy Bitsy Eggs

Hope and Greenwood is one of my favourite shops. Firstly, the shelves are stacked with sweet treats and secondly, there is a wonderful nostalgic feeling about it. Remember your favourite childhood sweet and you will find it in a jar on the shelves waiting to be weighed and taken home.
This Easter, Hope and Greenwood offer a variety of eggcellent treats including Vintage Bunnies, Farmer Greenwood's Eggs and Butterfly Truffle Boxes.

Although, my favourite chocolatey choice has got to be the Itsy Bitsy Eggs Funbag-tiny little chocolate eggs with a speckled candy shell. Surely being so small they must contain an itsy amount of calories? At least that's what I'm telling myself as I dig into my second bag.


One Bowl Brownies

I love chocolate. I also love not having a huge mess left in my sink after baking. Imagine being able to have both things in just 40 minutes (okay, maybe 42 by the time you have washed out the bowl), a delicious chocolatey treat and hardly any mess.

Ingredients: 
112g dark chocolate (70% is best)
170g butter
400g white sugar
3 eggs
5 ml vanilla extract
125g plain flour
115g chopped walnuts

Let's get making:

  1. Preheat oven to 180C/gas mark 4 and grease a 13 x 9 inch pan.
  2. Melt chocolate and butter in large bowl until butter is melted.
  3. Stir until chocolate is melted. Stir in sugar. Mix in eggs and vanilla. Stir in flour and nuts.
  4. Spread in greased 13 x 9 inch pan and bake for 35 minutes. (Try not to over bake, but like you would want to leave them in there any longer than they absolutely have to be.)
Serve with ice cream, whipped cream, double cream or all three.

Marshmallow Melts

Toasting marshmallows has got to be the best part of camping, I mean who really wants to sleep surrounded by insects, be at risk of being eaten by wild animals or wash from a bucket?
But why go through the ordeal at all when you can have Marshmallow melts in the comfort of your own, insect free, home, with very little mess. All the magic happens in one bowl, what more could we ask for? Apart from a cocktail in the hand that isn't holding the beaters.


Ingredients:
250g unsalted butter, softened
250g caster sugar
250g self-raising flour
Pinch of salt
4 medium eggs
4 tablespoons milk
1 teaspoon vanilla extract
24 marshmallows
1 Jar of Fluff


Let's get making:

  1. Preheat oven to 190°C or Gas Mark 5.
  2. Beat the butter in a large bowl until it is softened. Add the sugar, flour, salt, eggs, milk and vanilla and whisk until the mixture is smooth.
  3. Put one marshmallow in each paper case.
  4. Spoon the mixture into the cases, covering the marshmallow
  5. Place muffin tin in the oven and bake for 20 minutes, until cupcakes are a light golden colour.
  6. Remove the tins from the oven. Leave the cupcakes to cool in the tins for a few minutes, then transfer them to a wire rack to cool.
  7. When cool, spread a generous helping of Fluff onto each cupcake, (avoiding the temptation of spooning it straight into your mouth).